
How To Make A Thankful Jar: Gratitude Activity for Young Kids

Help your children learn about gratitude this year by making this adorable Thankful Jar.
Young children start to learn so many new academic skills, such as letters, numbers, and how to spell their names.
One of the most important jobs we have as parents is to teach them the “other stuff”. The stuff they can’t learn by flashcards or workbooks.
Things like how to be kind and caring and to appreciate what they have.
Thanksgiving comes right in between two holidays that can cause kids to have a case of the “gimmes”. Halloween, when they want ALL the candy. And Christmas, when they want ALL the things.
The Thanksgiving season is a perfect time to focus on teaching our kids about thankfulness and gratitude.
You might also like: Fun Alternatives to Trick or Treating this Halloween
You might also like: 10 Fun Christmas Traditions to Start This Year
Making a thankful jar is a great way to help your kids focus on feeling grateful this holiday season.
How Do You Make a Family Gratitude Jar or Thankful Jar?
When my daughter was three, I thought it would be a good time to start an annual thankful jar or gratitude jar. She was at an age that we could start teaching her about thankfulness.
I wanted a fun way to involve my daughter in creating a thankful jar so she felt like she was fully participating.
There aren’t too many ways to decorate a jar that young kids can help with so we decided to make pretty paper to use for writing down what we’re thankful for.
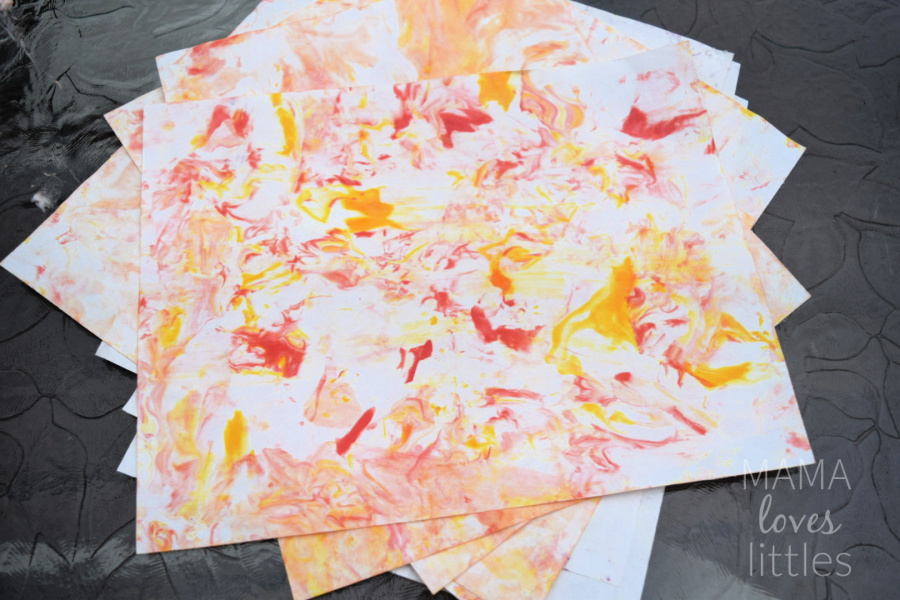
We made marbled paper using shaving cream and food coloring in fall colors.
Here’s how my three-year-old and I made this super cute thankful jar.
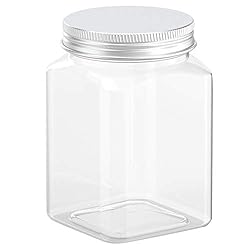
1. Find The Perfect Jar
Use a large glass vase or mason jar.
If you have older children who might be handling the jar, you may want to use something plastic or unbreakable like this.


2. Make Marbled Paper Using Shaving Cream
I didn’t want to just use plain paper for writing down what we’re thankful for.
We made this super pretty marbled paper instead.
It’s so easy to make and all you need is paper, shaving cream, and food coloring!

Step One
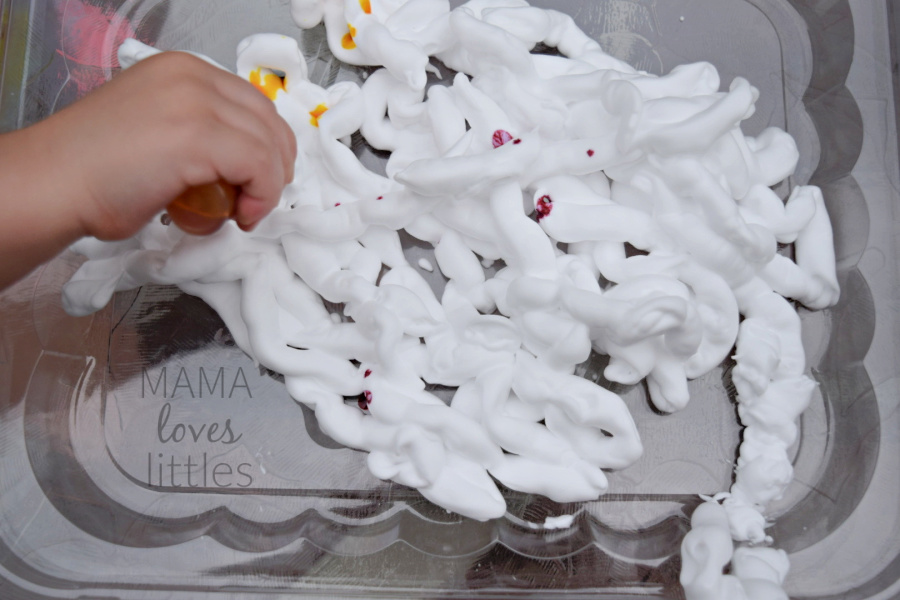
Spray the shaving cream onto a surface that’s big enough to fit a piece of paper.
You can use a cookie sheet, baking pan, or even just cover a table in plastic wrap and spray shaving cream directly on the plastic.
We used leftover lids from disposable baking pans.
Step Two
Add food coloring to the shaving cream.
The first time we did this, I used plant-based food coloring which didn’t work well at all.
I’d recommended sticking with regular food coloring for this project. The colors will come out much more vibrant!


Step Three
Mix the food coloring into the shaving cream.
I tried to have my daughter use some utensils to mix the food coloring around to avoid a big mess.
However, it was much easier to just let her use her hands!

Step Four
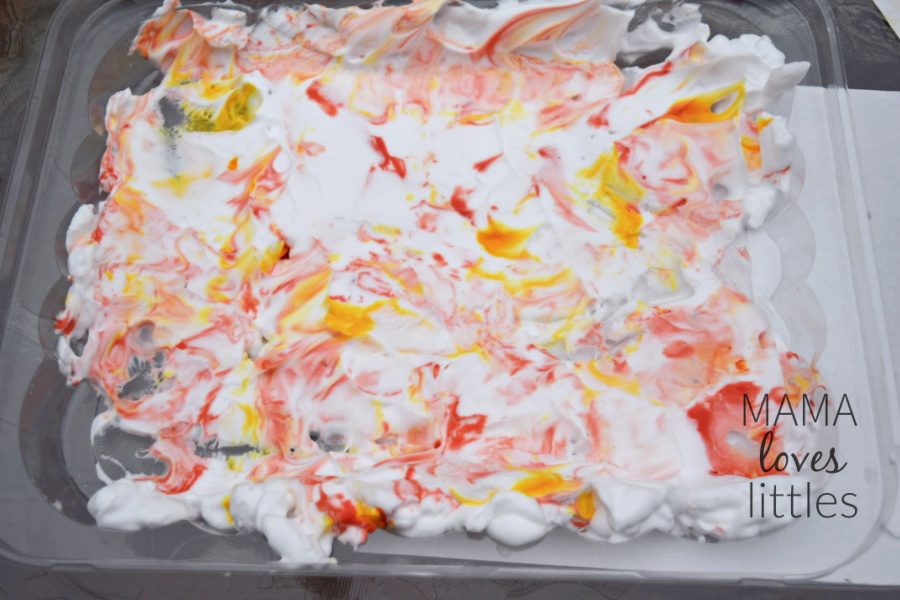
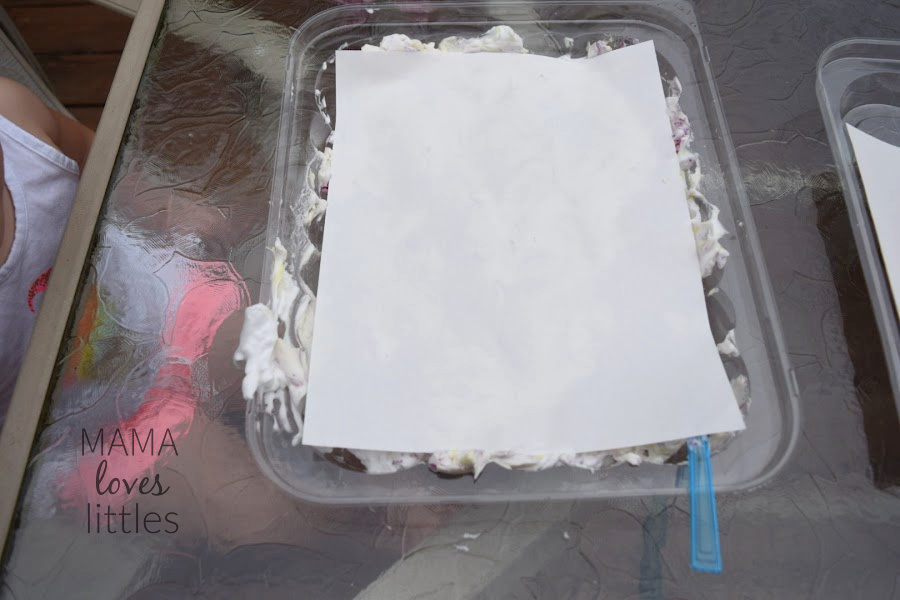
Place the paper on top of the shaving cream and press down.
You don’t need fancy paper.
We used plain printer paper which worked great.
Step Five
Scrape the excess shaving cream off the paper.
For this, I used a piece of cut-up cardboard.
Step Six
Repeat on the other side of the paper.
If you want a marbled effect on both sides, you can repeat steps four and five on the other side of the paper.
Step Seven
Let your kids play with the shaving cream!
This was my three-year-old’s favorite part of the activity, of course.
We were having beautiful weather in New England and did this project outside since shaving cream play can get a little messy.
My daughter managed to dye her hands and legs completely orange from the food coloring but we jumped into the tub when we were done and it came right off.
If you’d rather your kids not play with the food dye, you can always give them a container of uncolored shaving cream to play with after this craft is over.

3. Decorate Your Thankful Jar
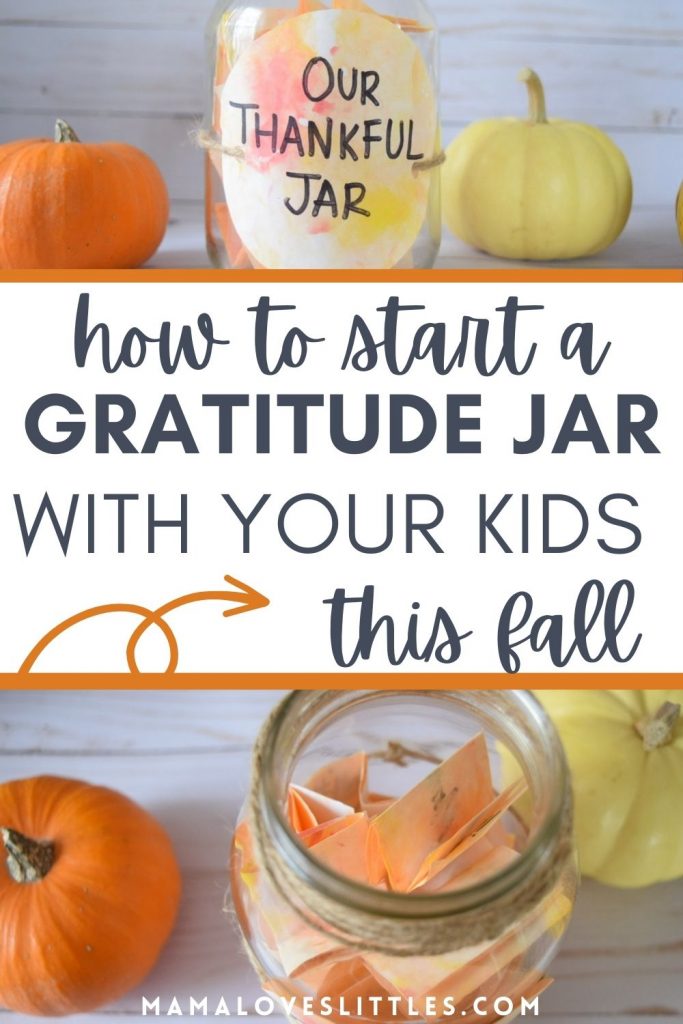
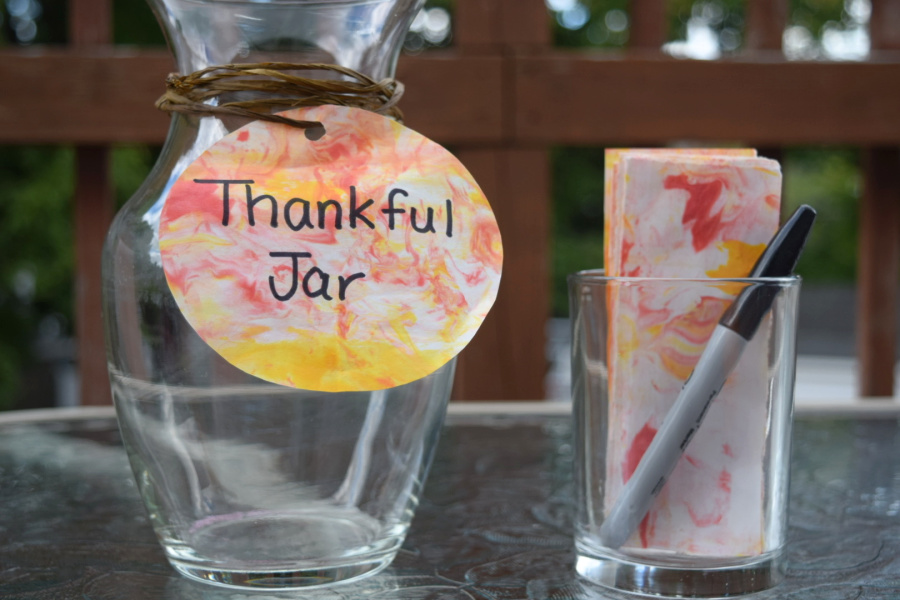
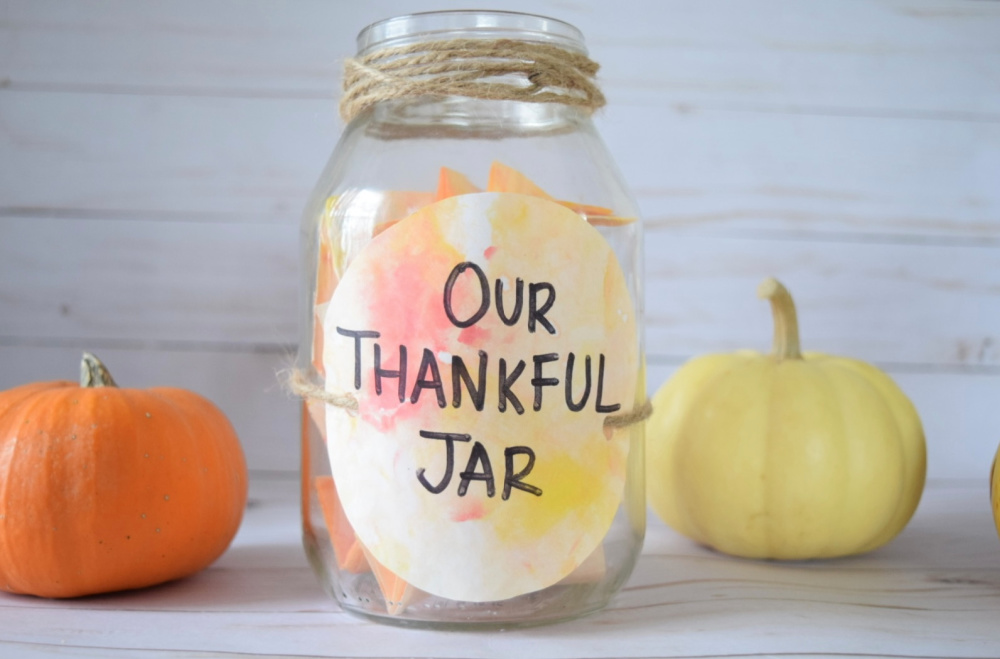
Once you have your paper marbled, cut out a fun shape to label your thankful jar. I used a circle because it’s easy.
Write your label on the cutout and punch a hole in the top.
I labeled ours Thankful Jar, but you can also call it a Gratitude Jar or Blessings Jar or whatever phrase you want to use.
Tie your label onto your jar with ribbon or string. Raffia or twine will get your thankful jar an autumn-inspired look.

4. Cut The Rest of The Marbled Paper Into Strips For Writing
Place paper in a container with a pen next to your thankful jar.
Now you’re ready to start recording what your family is grateful for.
What Do You Put In A Family Gratitude Jar?
Once you have your thankful jar made, it’s time to start filling it up with gratitudes.
I like to ask my daughter what made her thankful today as were sitting down eating dinner. I also share something that I was grateful for during the day.
You can use prompts such as:
- What are you thankful for today?
- What made you happy today?
- Tell me something good that happened today.
- What did you have fun doing today?
- What made you smile today?
Since she’s only three, she sometimes tells me the same thing for multiple days. Her go-to right now is “I’m thankful for my friends!” But when she comes up with something new, I write it down and put it in the jar.
Throughout the day, if something happens that makes me feel especially grateful or if my daughter mentions something she’s thankful for, we’ll write it down and put it in the jar.
On Thanksgiving, we plan to read all our notes on what made us thankful this year.
Read more valuable tips about teaching toddlers and preschoolers to be thankful.

When Should You Start Using Your Thankful Jar?
Anytime!
If you want to specifically focus on learning about thankfulness during the holiday season, you can start filling up your thankful jar after Halloween.
However, the great thing about having a thankful jar is that you don’t have to just use it during the Thanksgiving season.
You can use it any time of the year to help your family practice gratitude.
Find more fun Thanksgiving traditions to start with your kids this year.
